Enhancing the Spirit MER images
By Rupert Scammell <rupe@sbcglobal.net>
Warm thanks and congratulations to everyone at NASA / JPL for this mission!
Please email me with any questions or comments.
Some background
Shortly after the Spirit Mars Exploration Rover successfully landed on Gusev Crater, Mars, on 2004-01-03, the Hazcam on the MER was used to produce a low resolution, black and white panoramic image. Eager to get a preview of what might be seen when the color images were released, I decided to have a go at adding some false coloration, as well as enhancing details in the image itself.
Below are a series of progressive attempts to get more information out of each image. Click on each image for the larger version.
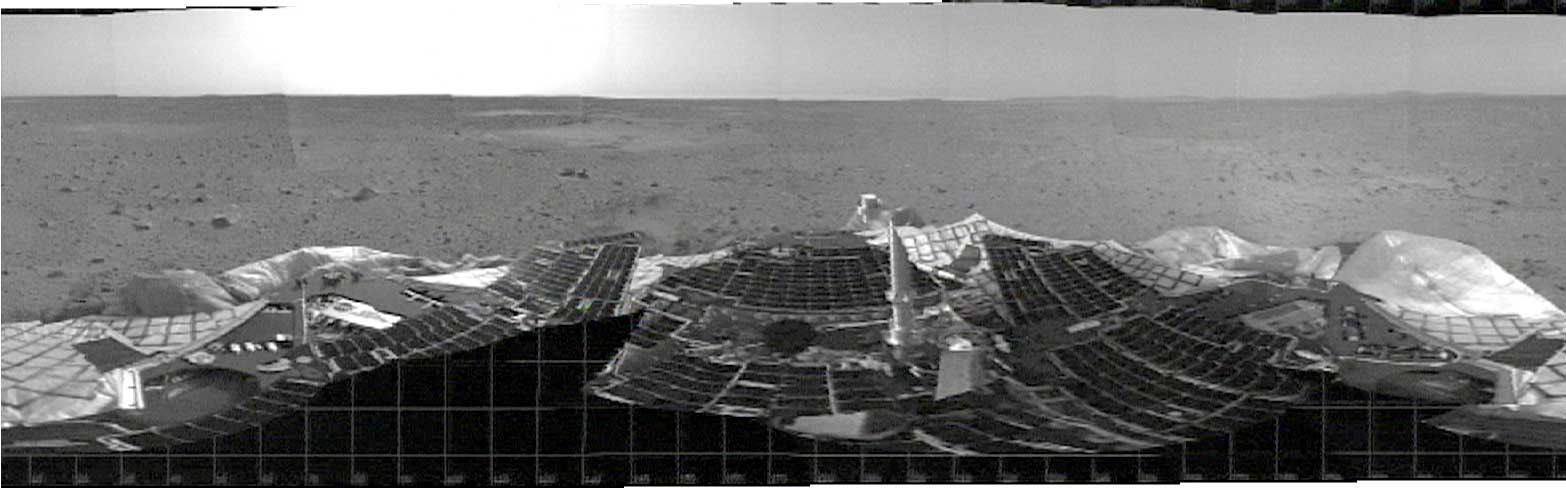
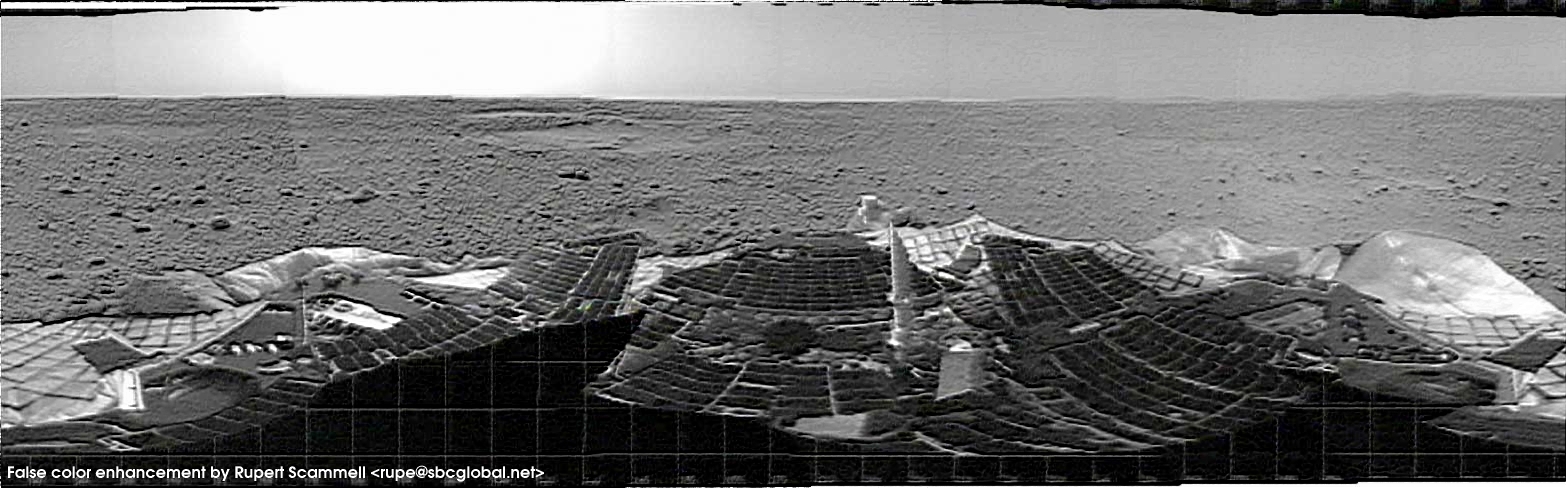
Sol 1 - Spirit's first day on Mars
Original image
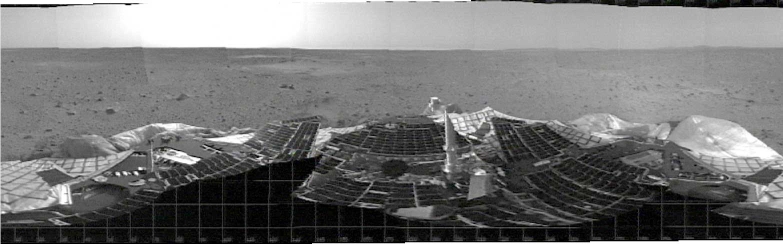
Original black and white panorama
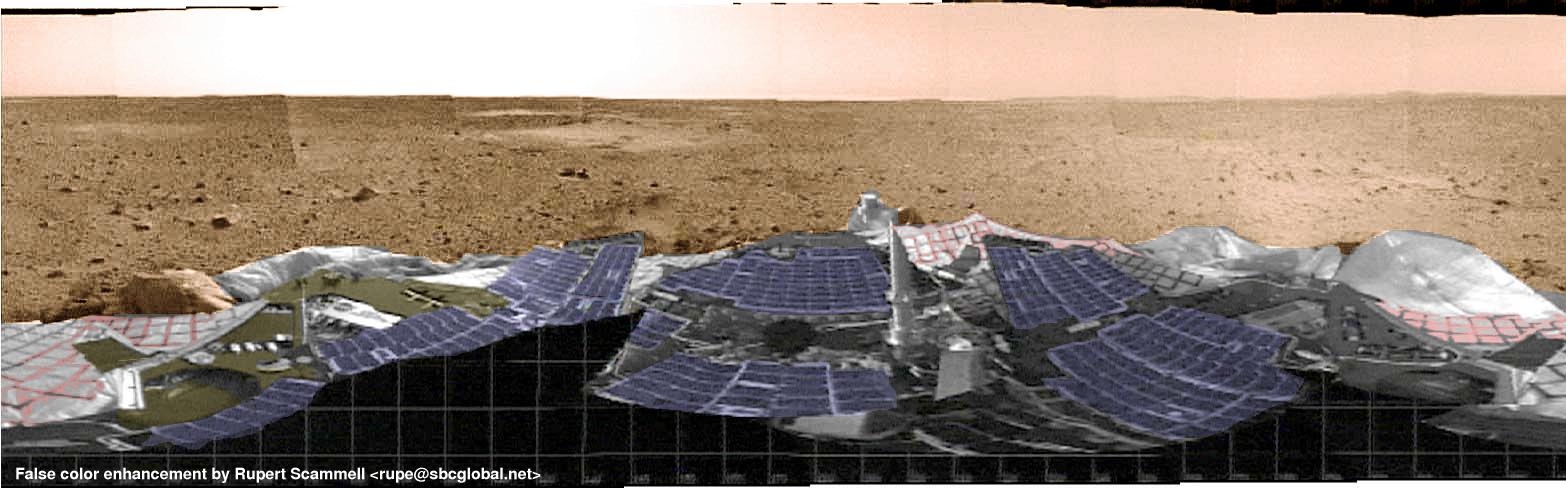
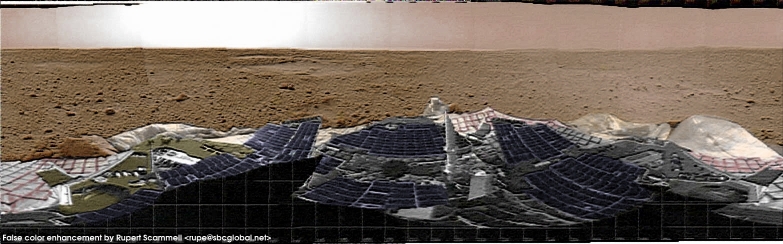
First attempt at image coloration

Lots of problems here. Big pixelated artifacts still visible at 100% and larger viewing size, indistinct terrain. The colors on the rover? All guessing.
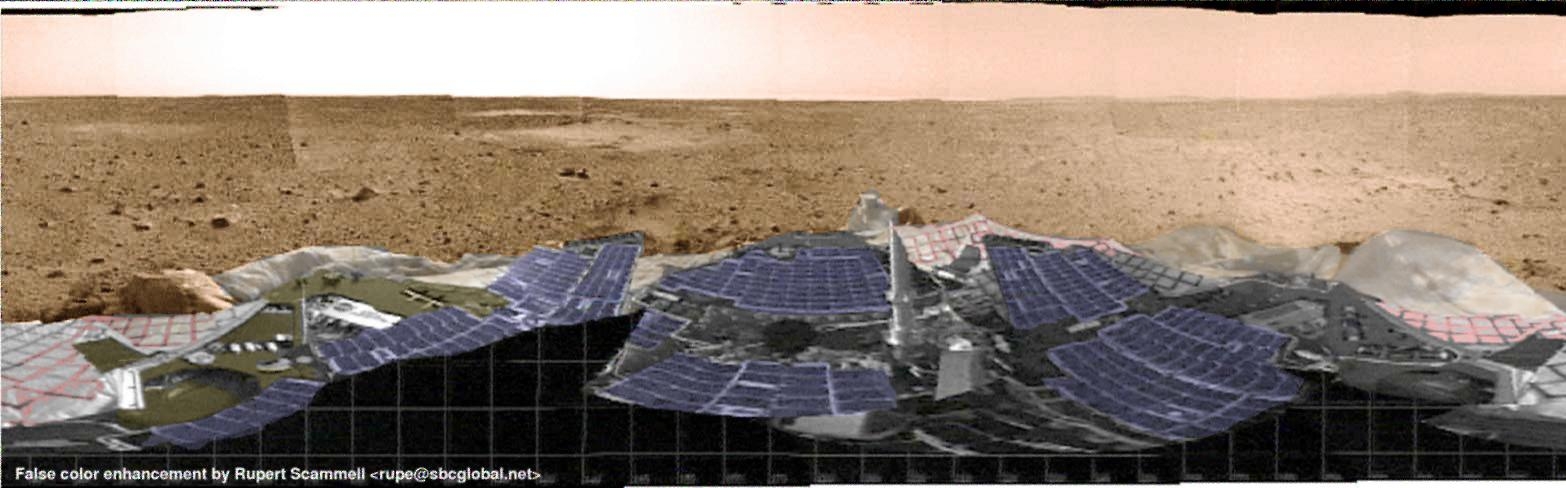
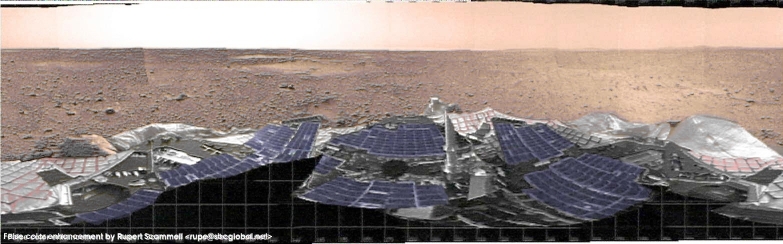
Second attempt at image coloration

Second try at the image. Managed to remove most of the pixelation artifacts using a 61% global blur on the image. Added some Mars dust to the visible airbags in the foreground. Surprisingly, the resolution of the terrain wasn't degraded visibly by the 61% blur (was awful, still awful here), but the grid-like lines are gone.
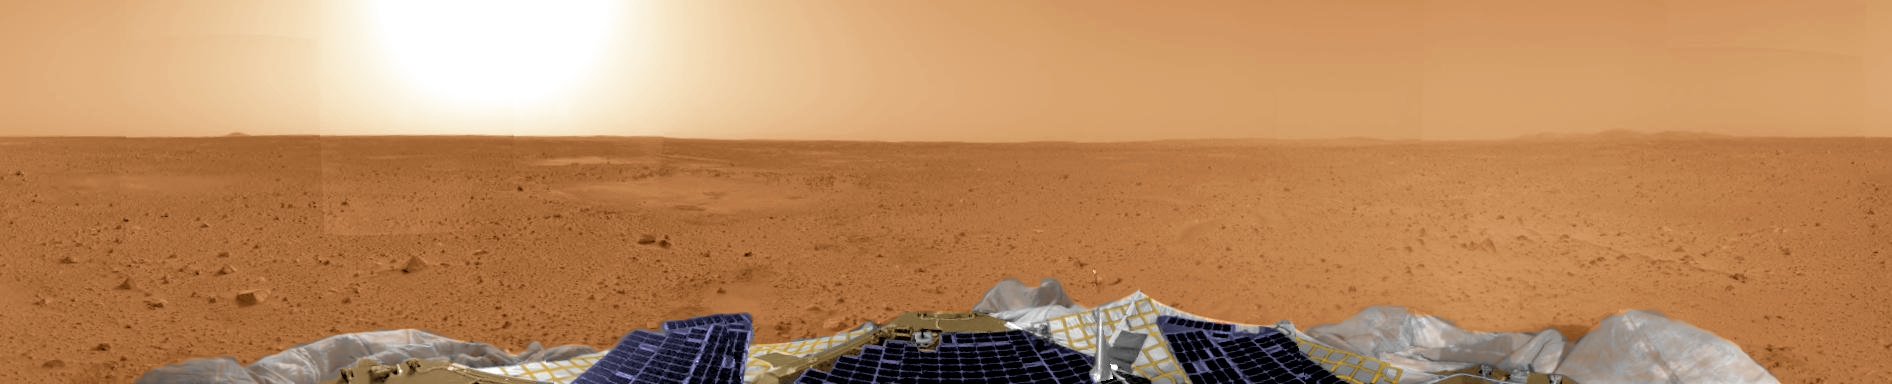
Third attempt at coloration and enhancement
I didn't think that it would be possible to get much more detail from the image. However, since I knew that all of the blurred edges in the image were in fact sharply defined in reality, I had an idea. Using the original black and white image, I used the GIMP's bump map tool to prepare a bump map. In the above image, the black and white bump map has been overlaid on the Try #2 image at about 95% transparency in GIMP's 'Value' layer mode. This is just enough the enhance the edges in the image, without overly washing out the color from previous coloration operations.
As a result, the features of the rover and the terrain look vastly clearer than they do in the original black and white image. It'll be interesting to see how closely the high resolution pancam images match up!
Fourth attempt at image enhancement
 This is another application of the bump map. One of the big questions being asked on #maestro on irc.freenode.net is whether the object in front of the rover on the middle left hand side of the image is a large rock, or simply part of a partially unretracted airbag. In an attempt to get some more detail on the area, I tried reapplying the bump map used in Try 3, above. The bump map was applied using GIMP Layers, Channels, and Paths settings of:
- Mode: Lighten only
- Keep Trans: Yes
- Opacity: 100.00
Red, Green, and Blue Channels enabled, as with the last application of the bump map.
Is it a rock, or an airbag? - Try #5
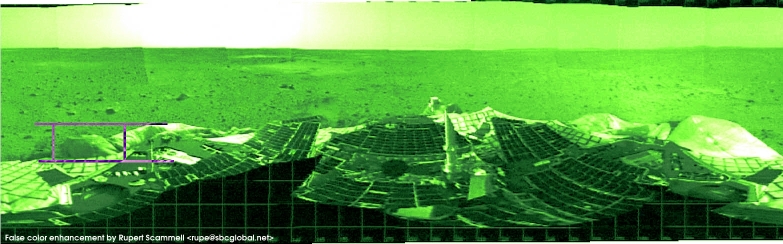 This is another attempt to ascertain whether the object on the middle left hand side of the panorama is simply a partially retracted airbag, or one of the largest visible rocks. This image does not use the bump map, It was produced starting with the original, BW panorama image, and making the following color balance alterations:
- Highlights: Red 100% (all others 0%)
- Midtones: Cyan 100% (all others 0%)
- Shadows: Green 100% (all others 0%)
- Preserve luminance: Yes
In the last try, the originally colored image was used in conjunction with the bump map, and since I'd colored the rock-or-airbag as a rock, it hasn't been particularly definitive to this point.
My personal opinion is that we're looking at a rock here. The apparent reflectivity of the surface is quite different than that of the confirmed airbag parts visible in the image.
Update:
Whamma on #maestro showed me an image that's convinced me that this is probably an airbag.
More rock vs. airbag discussion -- Markup from #maestro
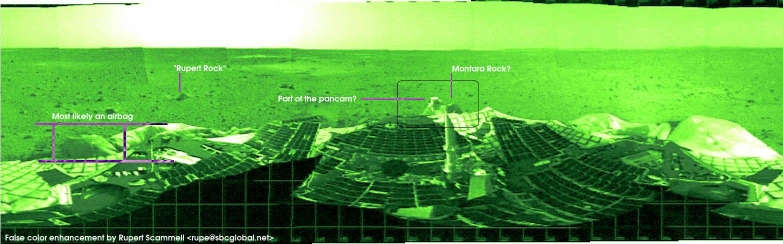 Some markup of the last image based on discussion in #maestro. Montara22 is pretty convinced that the dark region occluded by the pancam head is a rock, and I tend to agree with him. My 'rock' from the previous try is probably just a dirty airbag. Clearly it's far too late, and I've been staring at this image for way too long, since I've started giving small rocks near Spirit names!
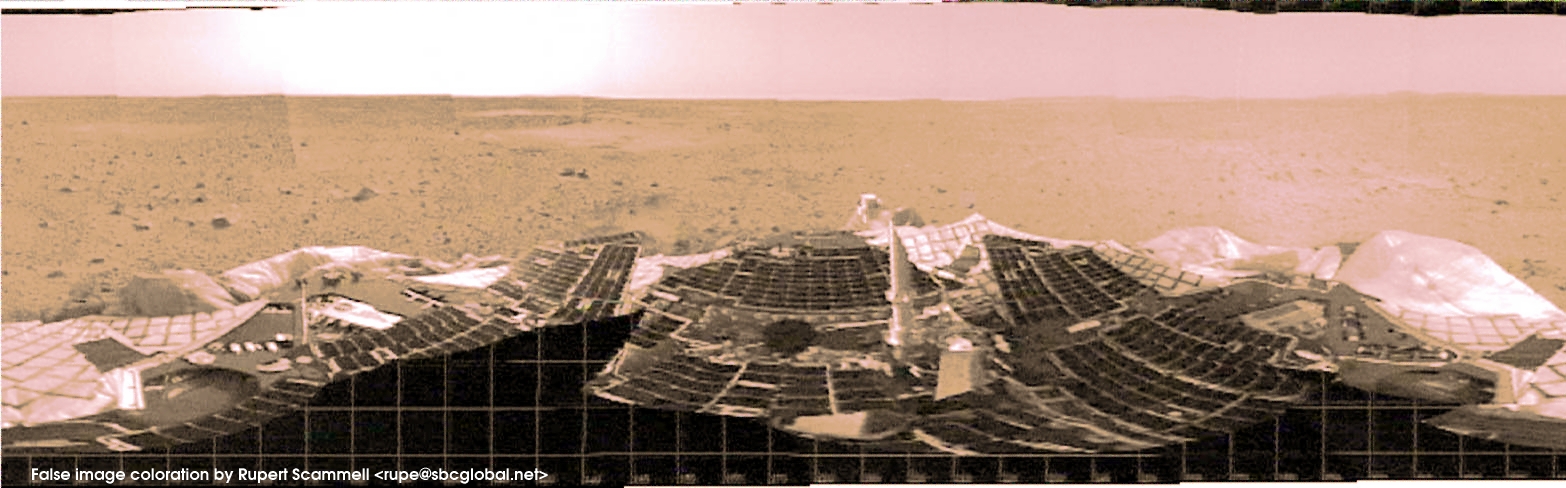
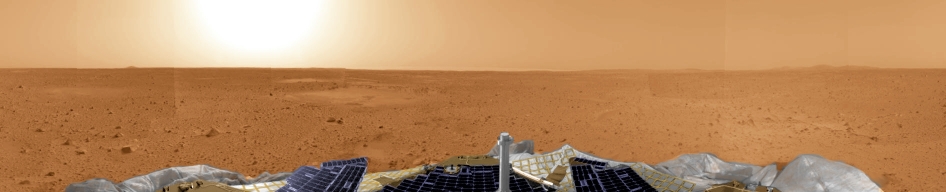
One more enhancement attempt for the day
 Here, I'm using a wholly different technique to try and extract more information from the original BW panorama image. Steps to create this image were as follows:
- Load original BW panorama image.
- Change color balance in midtone region to 100% red. Save image.
- Load fresh copy of the BW panorama image.
- Change color balance in midtone region to 100% green. Save image.
- Load fresh copy of the BW panorama image.
- Change color balance in midtone region to 100% blue. Save image.
- Reload red channel image.
- Layer green channel image onto red channel image base, using Additive mode, 50% opacity.
- Layer blue channel image onto red/green channel image base, using Additive mode, 50% opacity.
- Decrease brightness, increase contrast across entire image area.
The results here are very surprising. The surface actually appears to be a rust color, despite NO attempt to make it so (as opposed to the previously colored images, which were made by selecting the visible landscape, and deliberately changing the colors to look Mars-like) The steps above were the only steps that were used to process the image you see here. No bump map overlay. No specific coloration of any features.
The bump-map
This is the bump map that was used to enhance the terrain in tries #3 and #4, above.
The bump map is directly derived from the original BW MER panorama image. The following parameter values in the GIMP Bump Map tool were used to create this map:
- Map Type: Spherical Map
- Compensate for Darkening: Yes
- Invert Bumpmap: Yes
- Azimuth: 108.16 (approx)
- Elevation: 45.85 (approx)
- Depth: 12 (approx)
- X Offset: 0
- Y Offset: 0
- Waterlevel: 0
- Ambient: 0
Sol 2 - Spirit's second day on Mars
False color stereo pair
Left image

Right image
Source images are PIA04991 (left), and PIA04992 (right), on the MER Gallery page
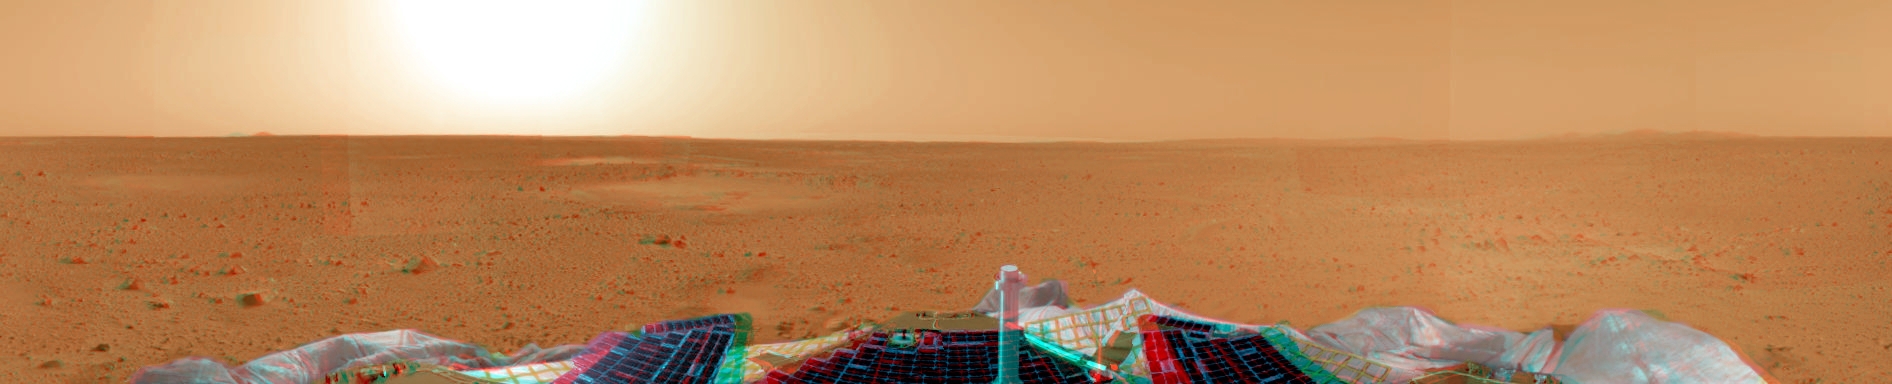
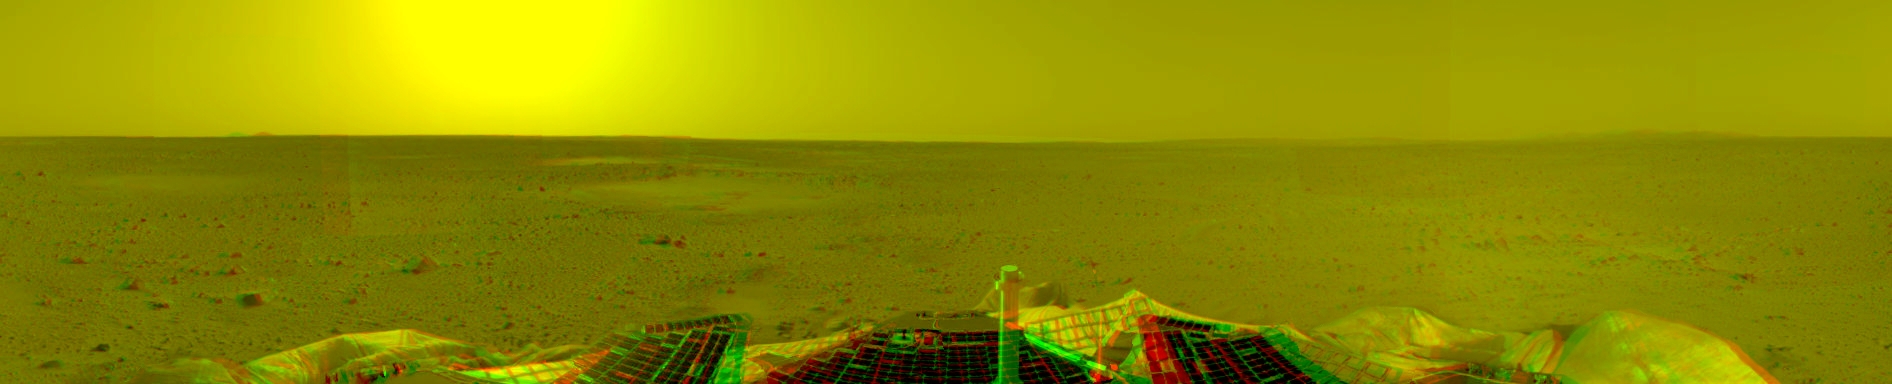
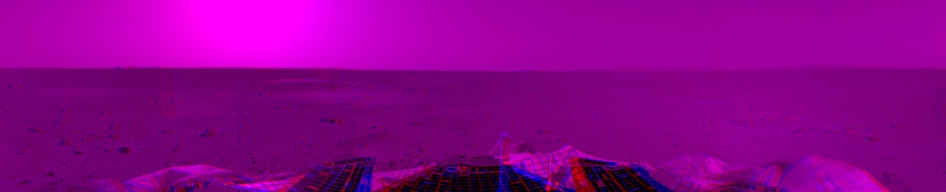
Stereo color anaglyphs
Red / Cyan anaglyph

Red / Blue anaglyph
Red / Green anaglyph
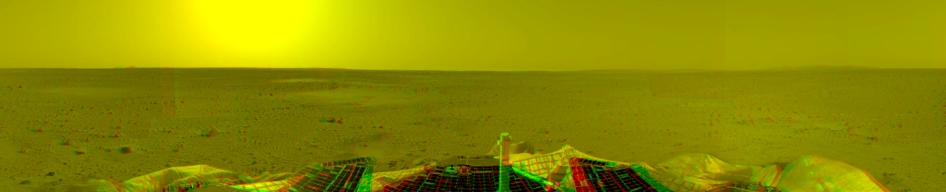
The three images above are stereo anaglyphs of the false color stereo pair above. Since people on #maestro and elsewhere seem to have three predominant varieties of 3D viewing glasses red&&{blue|green|cyan}, an anaglyph of each type is provided. Anaglyphs were generated in the GIMP using the stereoscopic.scm module.
Sol 3 (no new imagery)
Sol 4 - Spirit's fourth day on Mars
NASA/JPL/Cornell released the first Maestro data set for Columbia Memorial Station, the Spirit landing site today. So, there's a lot of new, high resolution pancam imagery to look at and play with. Now that the Great Rock/Airbag Conundrum of Sols 1/2 has been solved, another mystery has emerged to take its place. After the retraction commands were issued to the airbags, marks indicative of a cohesive, clay-like soil were visible in the areas in which the soil had been disturbed.
In order to get a better look at this region, I've made an attempt to enhance the image from the pancam. The image below has been taken from the first Maestro data set issued for the Spirit MER.
Enhanced high resolution pancam image
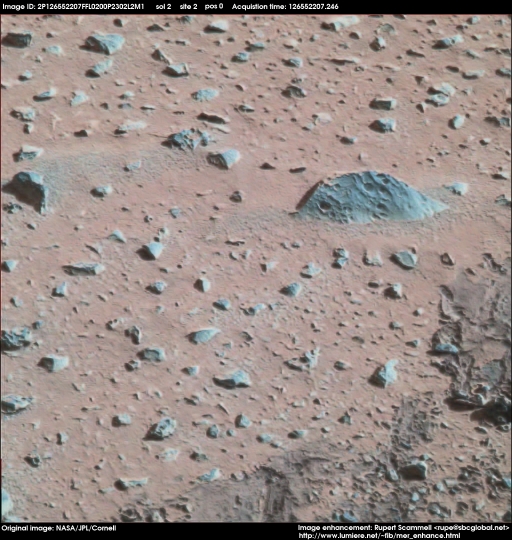
Source image ID: 2P126552207FFL0200P2302L2M1
A full resolution TIFF file is also available for this image: spiritds1_color_pancam_site2_enhance1.tif
Enhancement was performed using the GIMP. A bump map was created from a desaturated (bw) version of the source image. The bump map was then layered transparently onto the color version of the source image, using the following parameters:
- Layer mode: Normal
- Keep Trans: Yes
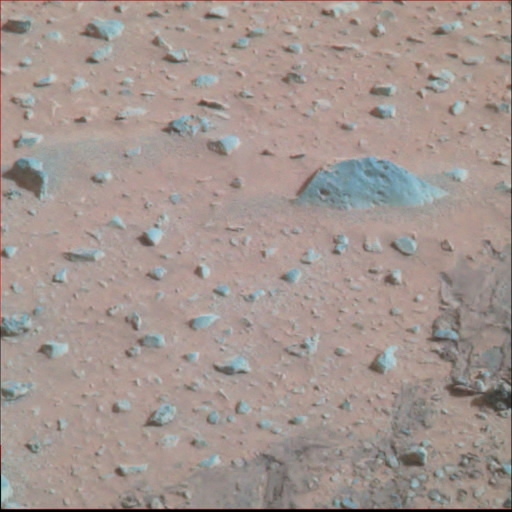
Original source image
This is the unenhanced image that was used as the source for the enhanced image above. Compare and contrast! :-)
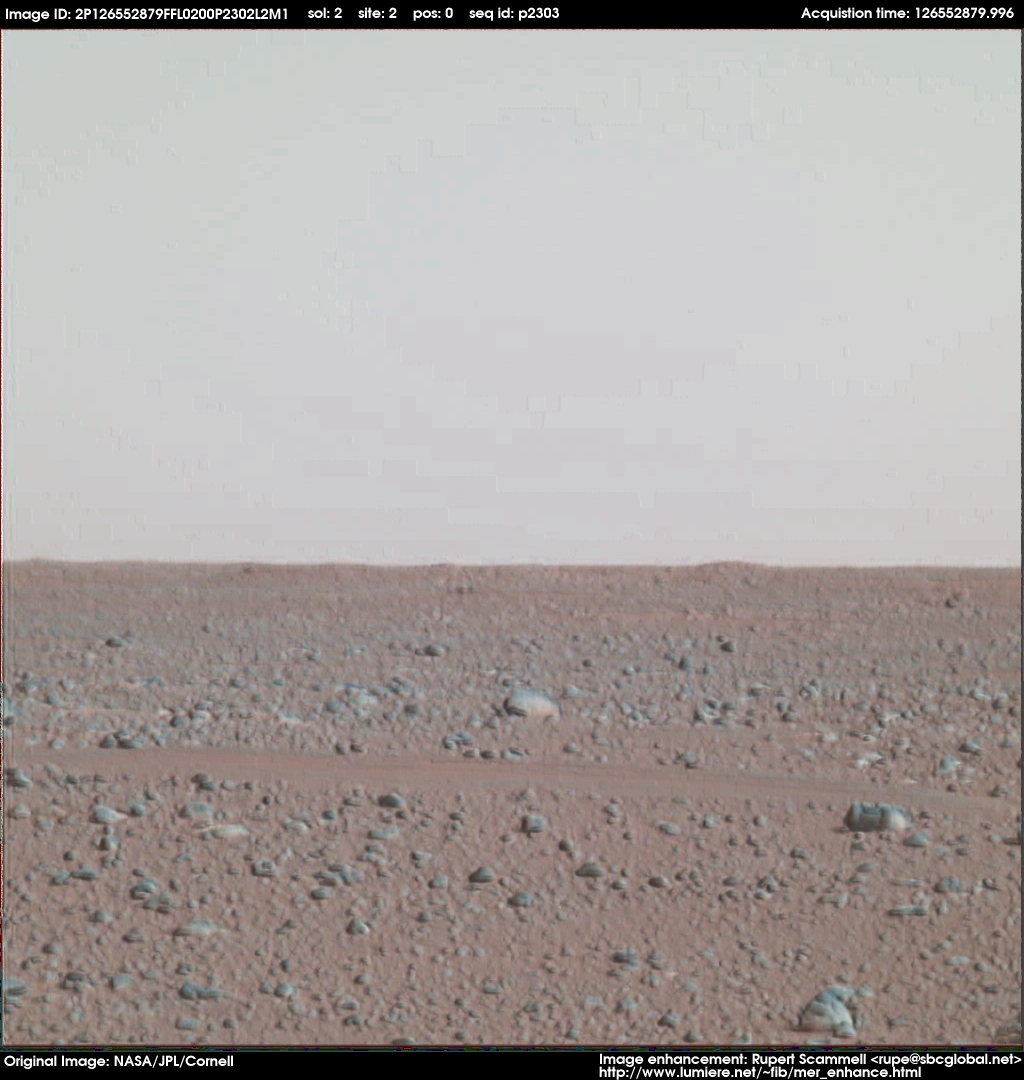
Another enhanced high resolution pancam image
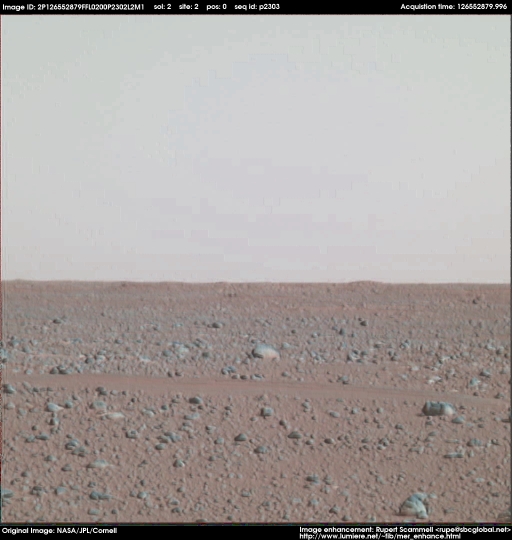 This image unfortunately isn't as impressive as the last enhancement, although I think it's still an amazing improvement. See the original image below, and I think you'll agree with me.
Source image ID: 2P126552879FFL0200P2302L2M1
A full resolution TIFF file is also available for this image: spiritds1_color_pancam_site2_enhance2.tif
Enhancement was performed using the GIMP. The following recipe was used:
Bump map generation
- Load source image into GIMP, and desaturate 100% to black and white.
- Adjust image brightness: -75%
- Adjust image contrast: +74%
- Apply blur (Blur 2.0 tool): 75%, repeat 1x.
- Apply bump map to image using GIMP Bump Map tool with parameters:
- Map type: Spherical
- Invert Bump Map: No
- Compensate for darkening: Yes
- Tile map: No
- Azimuth: 192.68
- Elevation: 153.12
- Depth: 27
- X Offset: 0
- Y Offset: 0
- Water Level: 0
- Ambient: 0
Image layering
- Load original color source image.
- Paste bump map over color source image.
- Layer image with parameters:
- Layer Mode: By value
- Opacity: 100%
- Merge layers. Calibrate brightness and contrast to match color in original color source image.
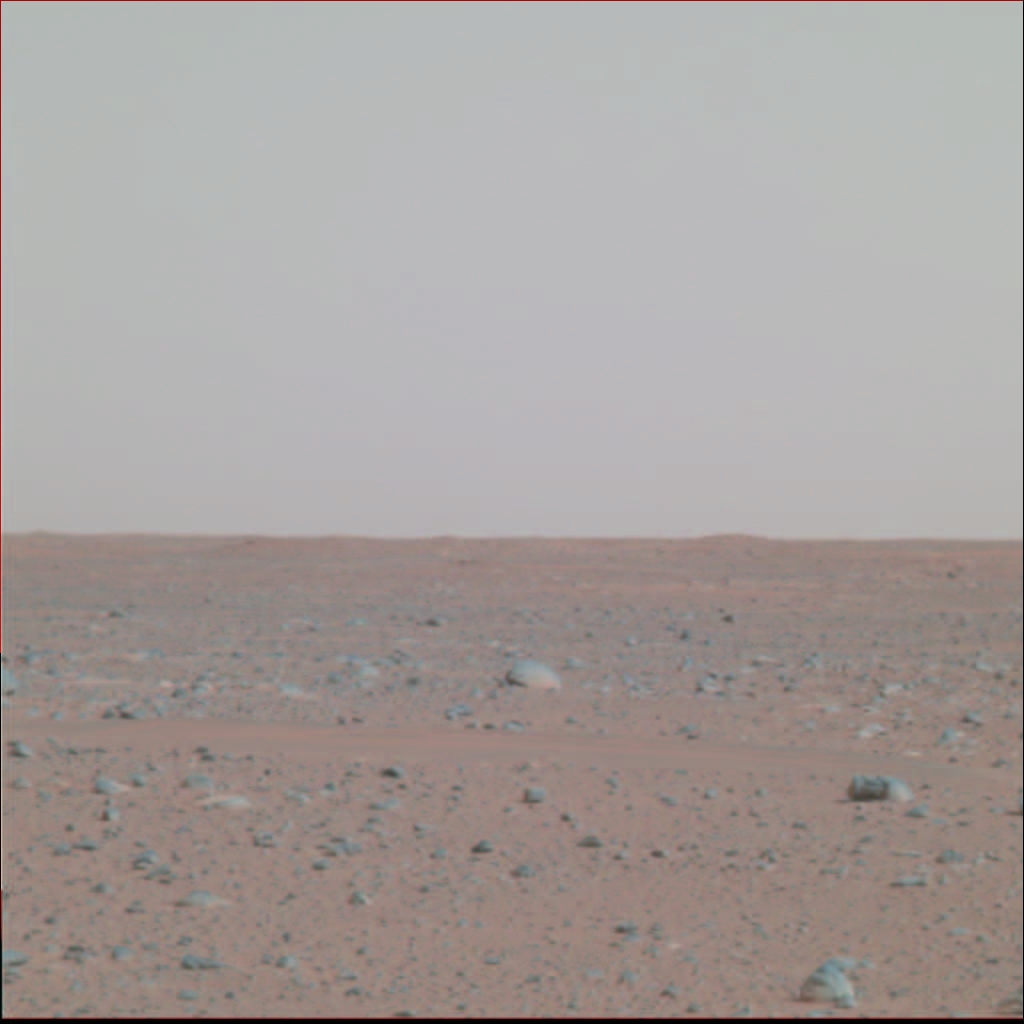
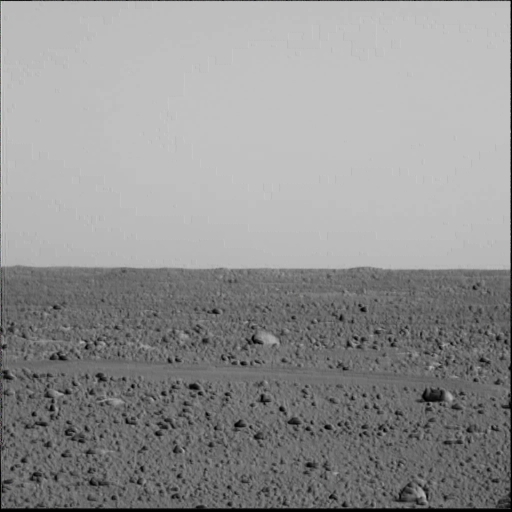
Original color source image

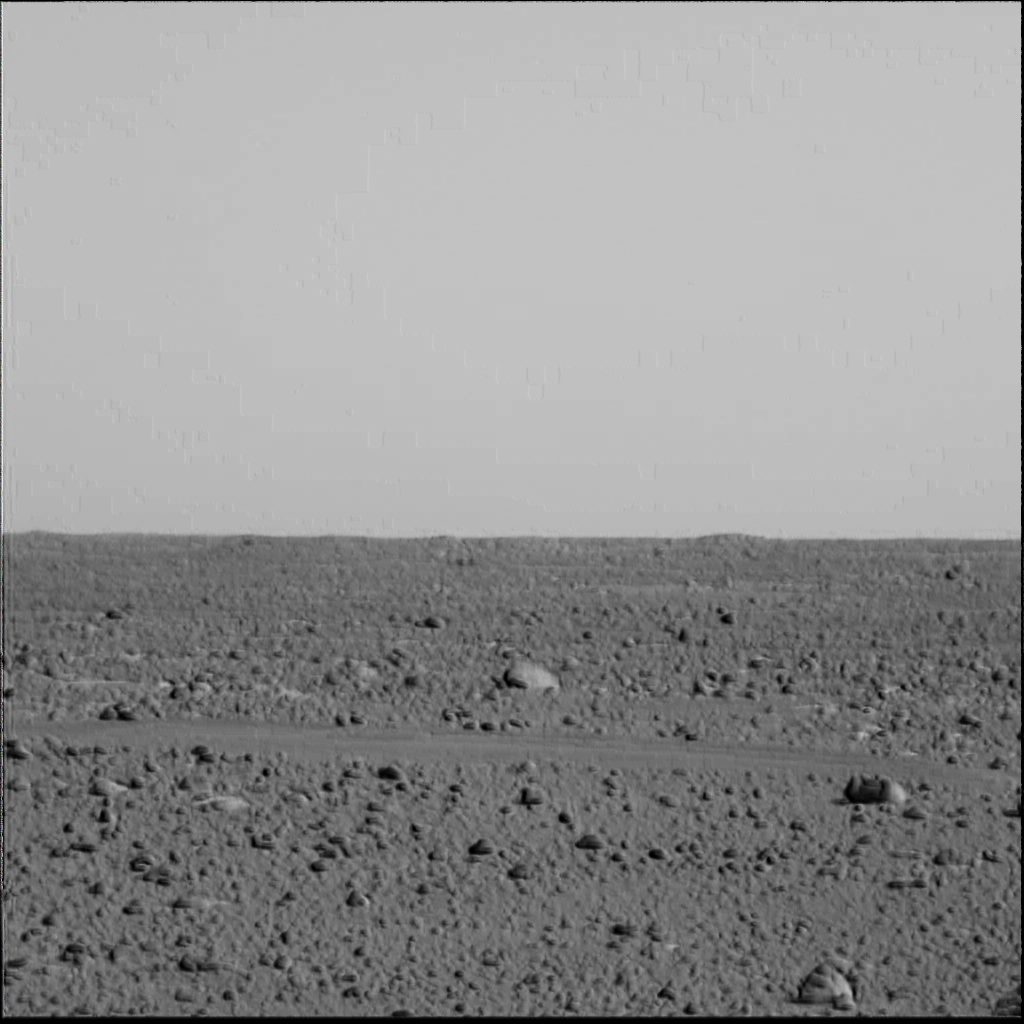
Bump map used for enhancement
Sols 5,6,7,8 - No new image enhancement activity
I've been working on (and have completed) a port of Maestro to the SGI IRIX 6.5 operating system. Consequently, no new image enhancements were done on these days. Note that the Sol on which images are posted does not imply that the image was captured on that sol. Sol capture days are prominently tagged in the top bar of each image posted.
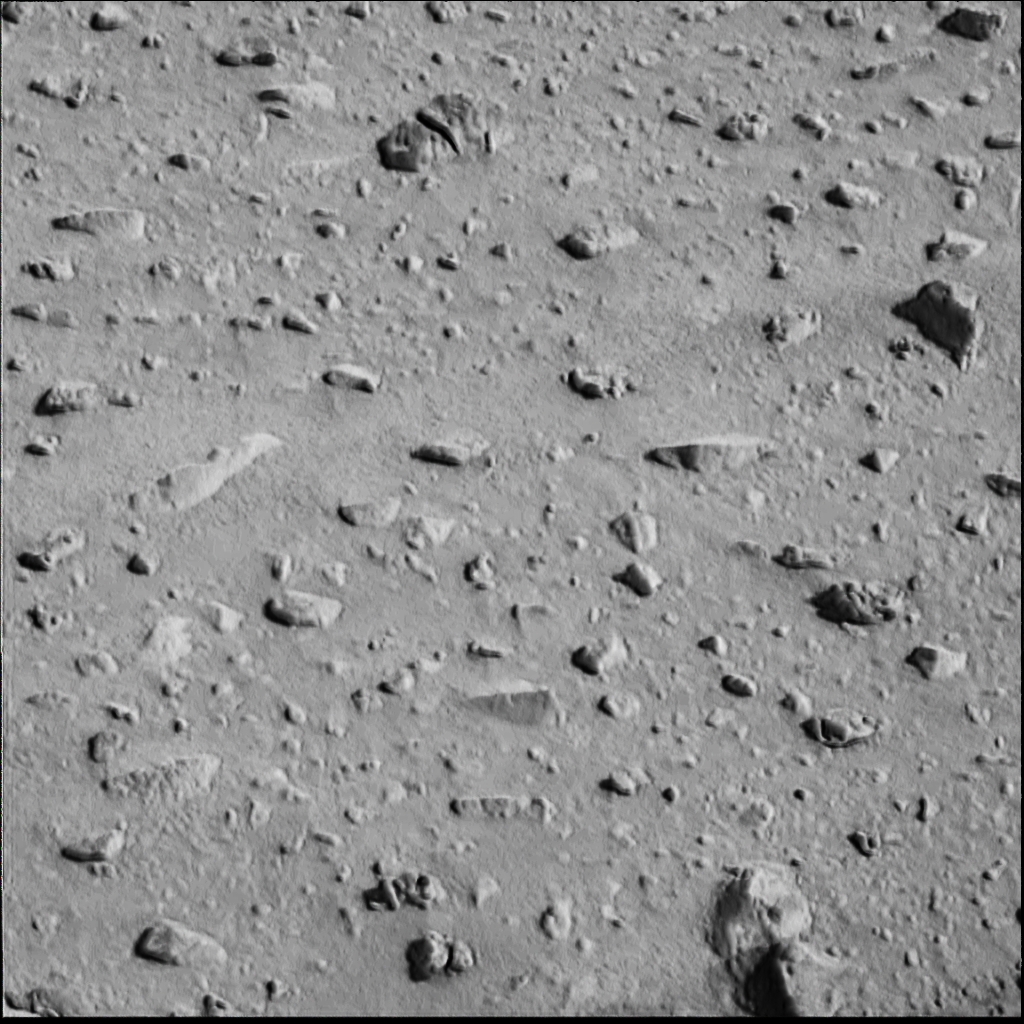
Sol 9 - More enhancements of the Spirit Dataset 1 pancam images
Enhanced image
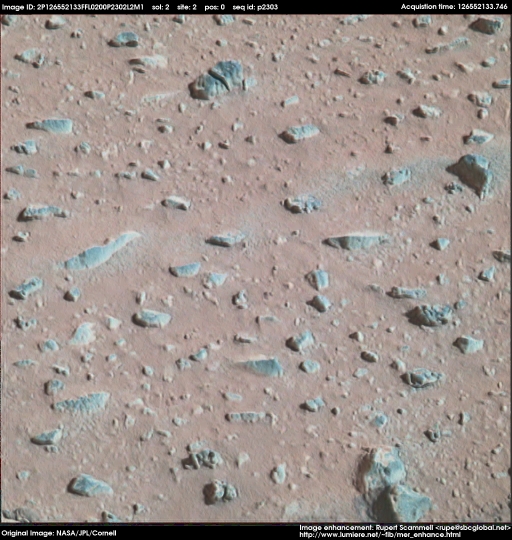
This enhancement uses exactly the same image processing technique as the previous image, of course with a different bump map. This is again a vast improvement over the original, and some of the more detailed geologic features of the mysterious blue/green tinted rocks have become quite visible. Note to #maestro regulars - No sky here for you guys to fight about, so pipe down :)
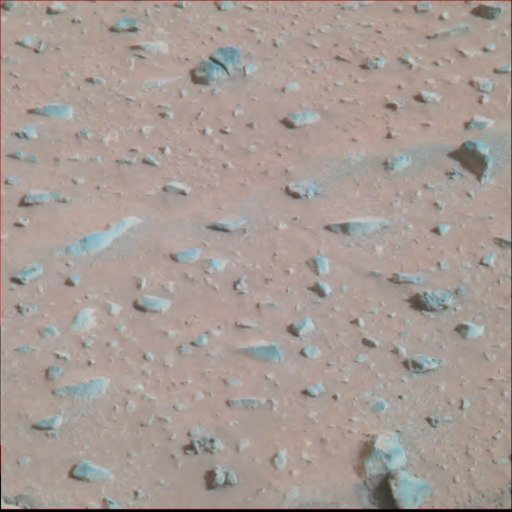
Original image
Bump map used for enhancement

Images are originally NASA / JPL / Cornell. Images are derivative works subject to the JPL Photo Policy.
2004-01-12 Rupert Scammell <rupe@sbcglobal.net>